
TUZHE PACKAGING GUIDE
Folding Gift Boxes: From Flat Components to a Packed Set
Review folding gift boxes through opening, assembly, insert placement and lid closure. Create a repeatable packing sequence without relying on flat dimensions alone.
On this page
A folding gift box is purchased as one format but experienced in several states: stored flat, assembled empty and filled for presentation. Each state raises a different question. Review the complete sequence before deciding that the supplied format suits your packing operation.
Inspect what arrives flat
Identify the base, lid, insert and any separate closure parts. Ask how they are packed and labeled when similar sizes travel together. Record which pieces belong to one set so that receiving staff can distinguish a complete kit from a stack of interchangeable-looking components.
Inspect how the visible surfaces are protected during the intended storage and assembly routine. A compact flat arrangement is useful only if staff can retrieve the right parts and build the box without confusing versions or damaging the presentation.
Build the box using its own instructions
Follow the sequence supplied for the selected construction. Folding gift boxes use different corner and wall arrangements, so do not turn a procedure for one sample into a universal instruction. Record the folds and locking points that are easy to reverse or leave incomplete.
Once assembled, check that the base sits as intended and the walls align. Measure the useful interior at the points occupied by the contents. Folded corners, linings and inserts can reduce the space that appears available on a flat drawing.
Fit the insert and contents before the lid
Add the actual insert, then the complete set of items. Include tissue, cards and accessories if they form part of the presentation. Check that the insert seats properly rather than riding over a corner or pushing the wall outward.
For the content-retention decision, use the gift insert and removal guide. Here the focus is the assembly sequence: whether the parts can be fitted in a consistent order and whether one step makes the next difficult.
Examine the closed article
A lid should be reviewed with the loaded base, not only against an empty box. Observe overlap, alignment and the way the customer removes or opens it. Record any point where an accessory or tall item meets the lid.
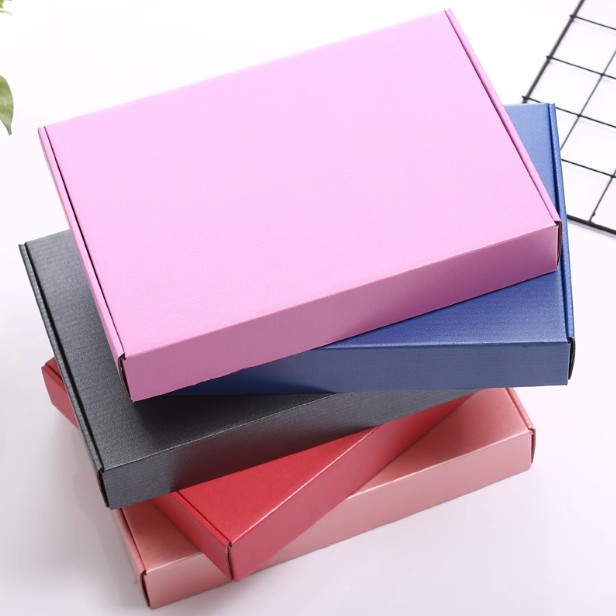
Colored boxes with lift-off lids and magnetic boxes with folding bases have different closures. Confirm the actual supplied construction and review the full set; a magnetic feature in a photograph does not define every part of the opening mechanism.
Turn the successful assembly into a short work instruction
- Identify the components and their matching references.
- Show the critical assembly points with photographs.
- Illustrate where the insert and accessories go.
- Show the loaded arrangement before closing.
- Record the final lid or closure check.
Repeat the process with the proposed instructions and note any unclear step. Do not publish a time-saving or defect-rate claim from an informal trial. Use the observations to improve the packing method and attach its revision to the sample approval record.